
So we've all been in this situation. You're building a Web App, you're super productive in your stack and you can go quickly - however generating lot's of data to see what your app will look like with enough users and traffic is a pain.
Either you're going to spend a lot of time manually inputting data or you're going to write some scripts to generate that data for you. There must be a better way.
In this post we're going to explore how we can solve this problem using the open-source project Synth. Synth is a state-of-the-art declarative data generator - you tell Synth what you want your data to look like and Synth will generate that data for you.
This tutorial is going to use a simple MERN (Mongo Express React Node) web-app as our test subject, but really Synth is not married to any specific stack.
I'm going to assuming you're working on MacOS or Linux (Windows support coming soon 🤞) and you have NodeJS, Yarn and Docker installed.
For this example we'll be running Synth version 0.3.2 .
Getting started#
As a template, we'll use a repository which will give us scaffolding for the MERN app. I picked this example because it shows how to get started quickly with a MERN stack, where the end product is a usable app you can write in 10 minutes. For our purposes, we don't really need to build it from scratch, so let's just clone the repo and avoid writing any code ourselves.
git clone https://github.com/samaronybarros/movies-app.git && cd movies-appNext, we'll be using docker to run an ephemeral version of our database locally. Docker is great for getting started quickly with popular software, and luckily for us MongoDB has an image on the docker registry. So - let's setup an instance of MongoDB to run locally (no username / password):
docker run -d --name mongo-on-docker -p 27017:27017 mongoStarting the Web App#
The repository we just cloned contains a working end-to-end web-app running on a MERN stack. It's a super simple CRUD application enabling the user to add / remove some movie reviews which are persisted on a MongoDB database.
The app consists of 2 main components, a nodejs server which lives under the movies-app/server/ sub-directory, and a React front-end which lives under the movies-app/client sub-directory.
The client and server talk to each other using a standard HTTP API under /movie.
So let's get started and run the back-end:
cd server && yarn install && node index.jsAnd then the client (you'll need two terminals here 🤷):
cd client && yarn install && yarn startCool! If you navigate to http://localhost:8000/ you should see the React App running 🙂
Let's add some movies by hand#
Hold the phone. Why are we adding movies by hand since we have a tool to generate data for us?
Well, by adding a little bit of test data by hand, we can then use Synth to infer the structure of the data and create as many movies as we want for us. Otherwise we would have to write the entire data definition (what we call a schema) by hand.
So, let's add a couple of movies manually using the Web UI.
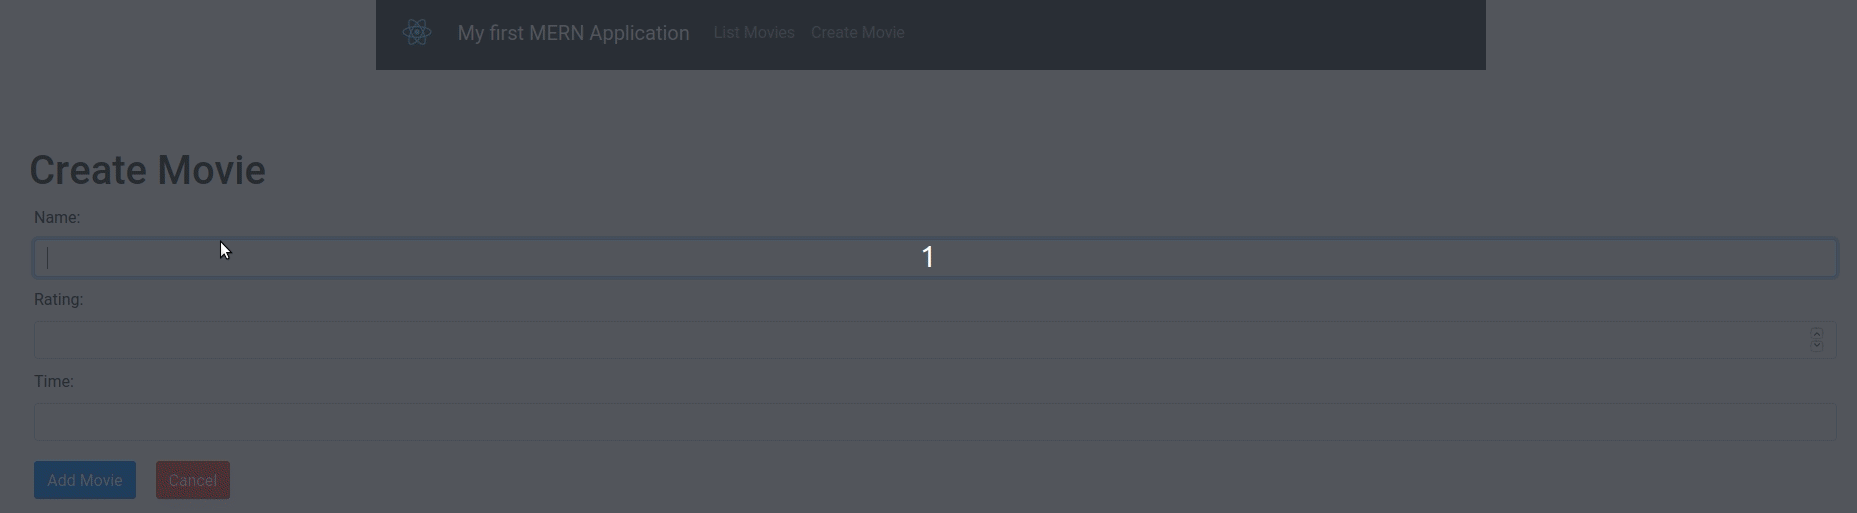
Ok, so now that we have a couple of movies, let's get started with Synth!
Synth#
In the following section we will cover how Synth fits into the Web App development workflow:
- First we'll install the Synth binary
- Then we'll initialize a Synth workspace in our repo to host our data model
- Next will ingest data from MongoDB into Synth
- And finally generate a bunch of fake data from Synth and back into Mongo
Installing Synth#
To install Synth on MacOS / Linux, visit the docs and choose the appropriate installation for your OS. If you are feeling adventurous, you can even build from source!
Declarative Data Generation#
Synth uses a declarative data model to specify how data is generated.
Hmmm, so what is a declarative model you may ask? A declarative model, as opposed to an imperative model, is where you 'declare' your desired end state and the underlying program will figure out how to get there.
On the other had, an imperative model (which is what we are mostly used to), is step by step instructions on how to get to our end-state. Most popular programming languages like Java or C are imperative - your code is step-by-step instructions on how to reach an end state.
Programming frameworks like SQL or React or Terraform are declarative. You don't specify how to get to your end-state, you just specify what you want and the underlying program will figure out how to get there.
With Synth you specify what your desired dataset should look like, not how to make it. Synth figures how to build it for you 😉
Creating a Workspace#
A workspace represents a set of synthetic data namespaces managed by Synth. Workspaces are marked by .synth/ sub-directory.
A workspace can have zero or more namespaces, where the namespaces are just represented as sub-directories. All information pertaining to a workspace is in its directory.
So let's create sub-directory called data/ and initialize our Synth workspace.
movies-app $ mkdir data && cd data && synth initNamespaces#
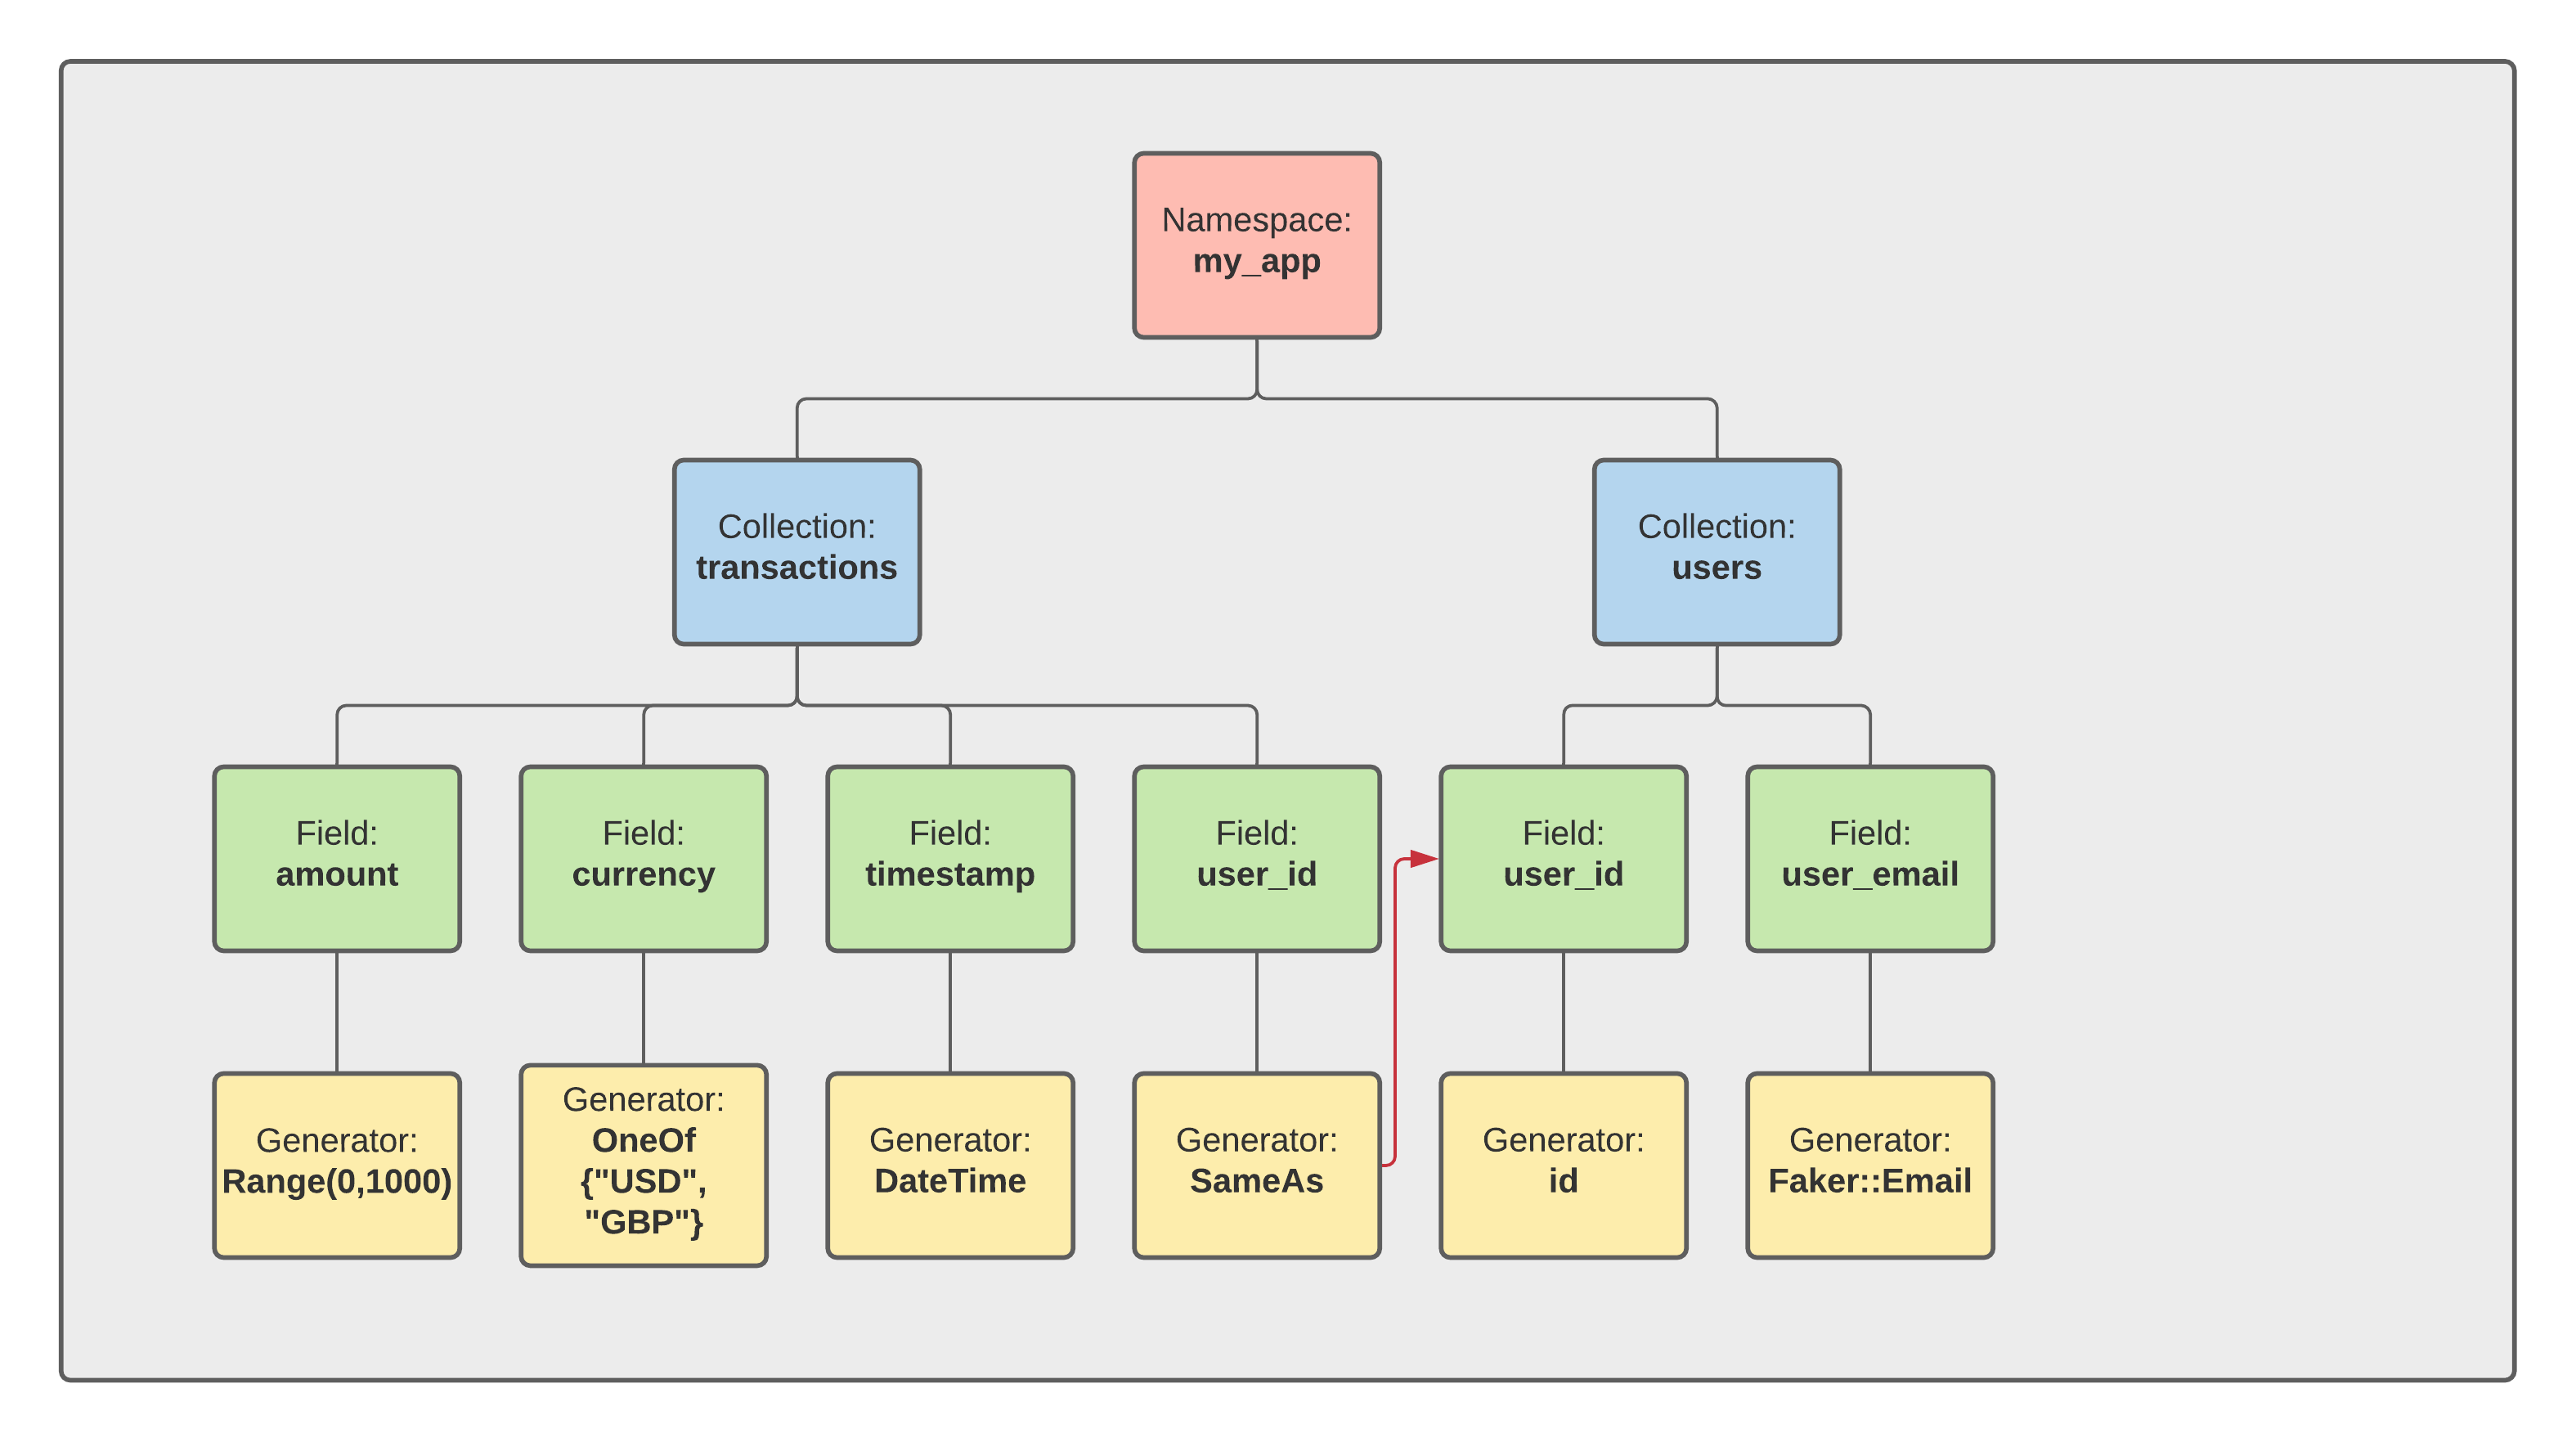
The namespace is the top-level abstraction in Synth. Namespaces are the equivalent of Schemas in SQL-land. Fields in a namespace can refer to other fields in a namespace - but you cannot reference data across namespaces.
Namespaces in turn, have collections which are kind of like tables in SQL-land. A visual example of the namespace/collection hierarchy can be seen below.
To create a namespace, we need to feed some data into Synth.
Feeding Data into Synth#
There are two steps to feed data into Synth from our MongoDB instance:
- We need to export data from MongoDB into a format that Synth can ingest. Luckily for us, Synth supports JSON out of the box so this can be done quite easily with the
mongoexportcommand - a light weight tool that ships with MongoDB to enable quick dumps of the database via the CLI. We need to specify a little bit more metadata, such as the database we want to export from using--db cinema, the collection using--collectionand the specific fields we are interested in--fields name,rating,time. We want the data frommongoexportto be in a JSON array so that Synth can easily parse it, so let's specify the--jsonArrayflag. - Next, we need to create a new Synth namespace using the
synth importcommand.synth importsupports a--fromflag if you want to import from a file, but if this is not specified it will default to reading fromstdin. We need to feed the output of themongoexportcommand into Synth. To do this we can use the convenient Bash pipe|to redirect thestdoutfrommongoexportinto Synth'sstdin.
docker exec -i mongo-on-docker mongoexport \ --db cinema \ --collection movies \ --fields name,rating,time \ --forceTableScan \ --jsonArray | synth import cinema --collection moviesSynth runs an inference step on the JSON data that it's fed, trying to infer the structure of the data. Next Synth automatically creates the cinema namespace by creating the cinema/ sub-directory and populates it with the collection movies.json.
$ tree -a data/data/├── .synth│ └── config.toml└── cinema └── movies.jsonWe can now use this namespace to generate some data:
$ synth generate cinema/{ "movies": [ { "_id": { "$oid": "2D4p4WBXpVTMrhRj" }, "name": "2pvj5fas0dB", "rating": 7.5, "time": [ "TrplCeFShATp2II422rVdYQB3zVx" ] }, { "_id": { "$oid": "mV57kUhvdsWUwiRj" }, "name": "Ii7rH2TSjuUiyt", "rating": 2.5, "time": [ "QRVSMW" ] } ]}So now we've generated data with the same schema as the original - but the value of the data points doesn't really line up with the semantic meaning of our dataset. For example, the time array is just garbled text, not actual times of the day.
The last steps is to tweak the Synth schema and create some realistic looking data!
Tweaking the Synth schema#
So let's open cinema/movies.json in our favorite text editor and take a look at the schema:
{ "type": "array", "length": { "type": "number", "subtype": "u64", "range": { "low": 1, "high": 4, "step": 1 } }, "content": { "type": "object", "time": { "type": "array", "length": { "type": "number", "subtype": "u64", "range": { "low": 1, "high": 2, "step": 1 } }, "content": { "type": "one_of", "variants": [ { "weight": 1.0, "type": "string", "pattern": "[a-zA-Z0-9]*" } ] } }, "name": { "type": "string", "pattern": "[a-zA-Z0-9]*" }, "_id": { "type": "object", "$oid": { "type": "string", "pattern": "[a-zA-Z0-9]*" } }, "rating": { "type": "number", "subtype": "f64", "range": { "low": 7.0, "high": 10.0, "step": 1.0 } } }}There is a lot going on here but let's break it down.
The top-level object (which represents our movies collection) is of type array - where the content of the array is an object with 4 fields, _id, name, time, and rating.
We can completely remove the field _id since this is automatically managed by MongoDB and get started in making our data look real. You may want to have the Generators Reference open here for reference.
Rating#
First let's change the rating field. Our app can only accept numbers between 0 and 10 inclusive in increments of 0.5. So we'll use the Number::Range content type to represent this and replace the existing value:
{ "range": { "high": 10, "low": 0, "step": 0.5 }, "subtype": "f64", "type": "number"}Time#
The time field has been correctly detected as an array of values. First of all, let's say a movie can be shown up to 5 times a day, so we'll change the high field at time.length.range to 6 (high is exclusive). At this stage, the values are just random strings, so let's instead use the String::DateTime content type to generate hours of the day.
``json synth[expect = "unknown variant date_time`"]
{
"type": "array",
"length": {
"type": "number",
"subtype": "u64",
"range": {
"low": 1,
"high": 5,
"step": 1
}
},
"content": {
"type": "one_of",
"variants": [
{
"weight": 1.0,
"type": "string",
"date_time": {
"subtype": "naive_time",
"format": "%H:%M",
"begin": "12:00",
"end": "23:59"
}
}
]
}
}
:::caution
`date_time` is now a generator on its own and is no longer a subtype of the `string` generator
:::
### Name
Finally, the movie name field should be populated with realistic looking movie names.
Under the hood, Synth uses the Python Faker library to generate so called 'semantic types' (think credit card numbers, addresses, license plates etc.). Unfortunately Faker does no have movie names, so instead we can use a random text generator instead with a capped output size.
So let's use the `String::Faker` content type to generate some fake movie names!
```json synth{ "type": "string", "faker": { "generator": "text", "max_nb_chars": 20 }}Final Schema#
So, making all the changes above, we can use our beautiful finished schema to generate data for our app:
``json synth[expect = "unknown variant date_time`"]
{
"type": "array",
"length": {
"type": "number",
"subtype": "u64",
"range": {
"low": 1,
"high": 2,
"step": 1
}
},
"content": {
"type": "object",
"name": {
"type": "string",
"faker": {
"generator": "text",
"max_nb_chars": 20
}
},
"time": {
"optional": false,
"type": "array",
"length": {
"type": "number",
"subtype": "u64",
"range": {
"low": 1,
"high": 5,
"step": 1
}
},
"content": {
"type": "one_of",
"variants": [
{
"weight": 1.0,
"type": "string",
"date_time": {
"subtype": "naive_time",
"format": "%H:%M",
"begin": "00:00",
"end": "23:59"
}
}
]
}
},
"rating" : {
"range": {
"high": 10,
"low": 0,
"step": 0.5
},
"subtype": "f64",
"type": "number"
}
}
}
```bash$ synth generate cinema/ --size 5{ "movies": [ { "name": "Tonight somebody.", "rating": 7, "time": [ "15:17" ] }, { "name": "Wrong investment.", "rating": 7.5, "time": [ "22:56" ] }, { "name": "Put public believe.", "rating": 5.5, "time": [ "20:32", "21:06", "16:15" ] }, { "name": "Animal firm public.", "rating": 8.5, "time": [ "20:06", "20:25" ] }, { "name": "Change member reach.", "rating": 8.0, "time": [ "12:36", "14:34" ] } ]}Ah, much better!
Generating data from Synth into MongoDB#
So now that we can generate as much correct data as we want, let's point Synth at MongoDB and let loose the dogs of war.
This step can be broken into two parts:
- Run the
synth generatecommand with our desired collectionmoviesand specifying the number of records we want using the--sizefield. - Pipe
stdoutto themongoimportcommand,mongoexport's long lost cousin. Again here we specify the database we want to import to,--db cinemaand the specific collectionmovies. We also want the--jsonArrayflag to notifymongoimportthat it should expect a JSON array.
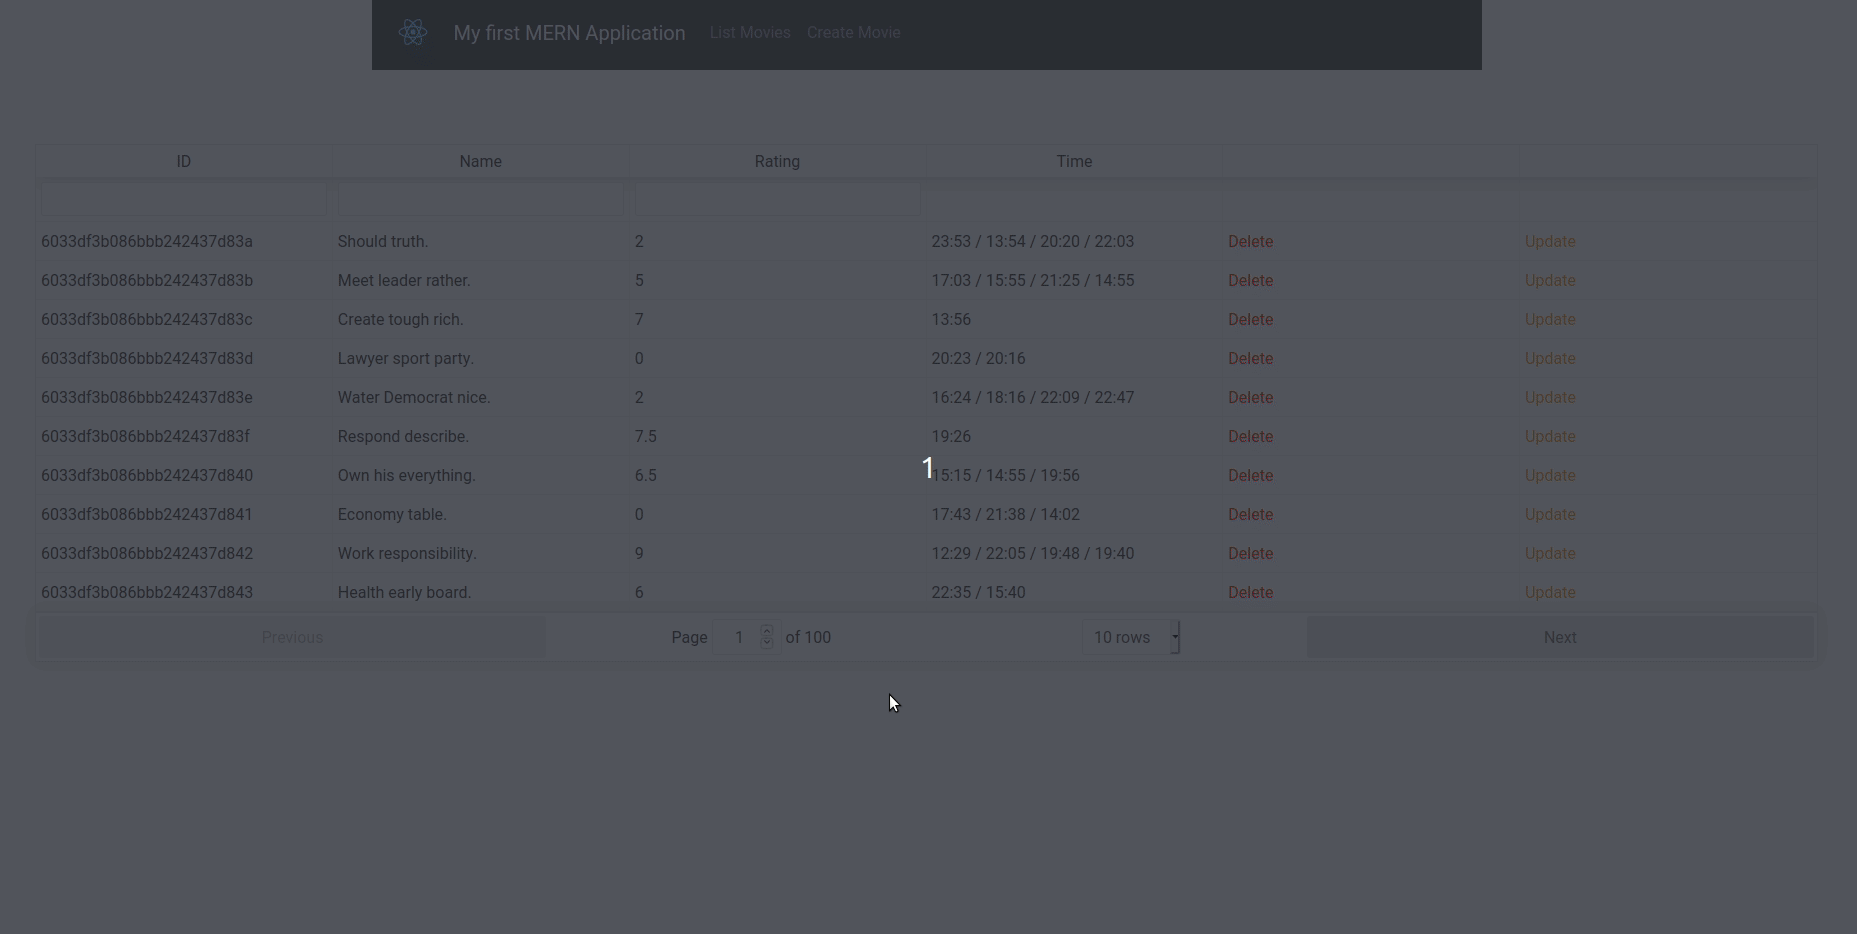
synth generate cinema/ \ --collection movies \ --size 1000 \ | docker exec -i mongo-on-docker mongoimport \ --db cinema \ --collection movies \ --jsonArrayAnd voila! Our app now has hundreds of valid movies in our database!
Conclusion#
This post was a summary of how you can use Synth to generate realistic looking test data for your Web App. In the next part of this tutorial, we'll explore how we can use Synth to generate relational data, i.e. where you have references between collections in your database.
To check out the Synth source code you can visit the Synth repo on GitHub, and to join the conversation hop-on the the Synth discord server.